Last Updated: November 12, 2026
Quick Summary
To accept contactless payments at your shop, install a terminal or phone-based acceptance app that supports tap, chip, and mobile wallets, and confirm it integrates with your sales system. Choose the method that fits your sales volume, compare full fee schedules, and test each payment type with staff cards before opening. Keep a fallback plan for outages.
- Choose a countertop terminal for fixed registers or a portable unit for mobile sales.
- Confirm the terminal integrates with your POS system so sales and inventory stay in sync.
- Get a full fee schedule, including monthly, equipment, and early-termination costs, from each provider.
- Test contactless credit, contactless debit, and digital wallets with staff cards before going live.
- Keep a backup payment method and a written plan for terminal or network outages.
Table of Contents
- What Contactless Payments Are and How Customers Use Them
- Choosing a Contactless Payment Terminal for Small Business
- Comparing Acceptance Methods and What Each Costs
- How to Accept NFC Payments on Phone and Take Card Payments on Phone
- How to Enable Tap to Pay on iPhone, Step by Step
- Shop Setup Checklist, Refunds, Disputes and Fallback Payments
- Your Next Step: Book a Setup Review With Local Credit Card Processing
- Frequently Asked Questions
What Contactless Payments Are and How Customers Use Them
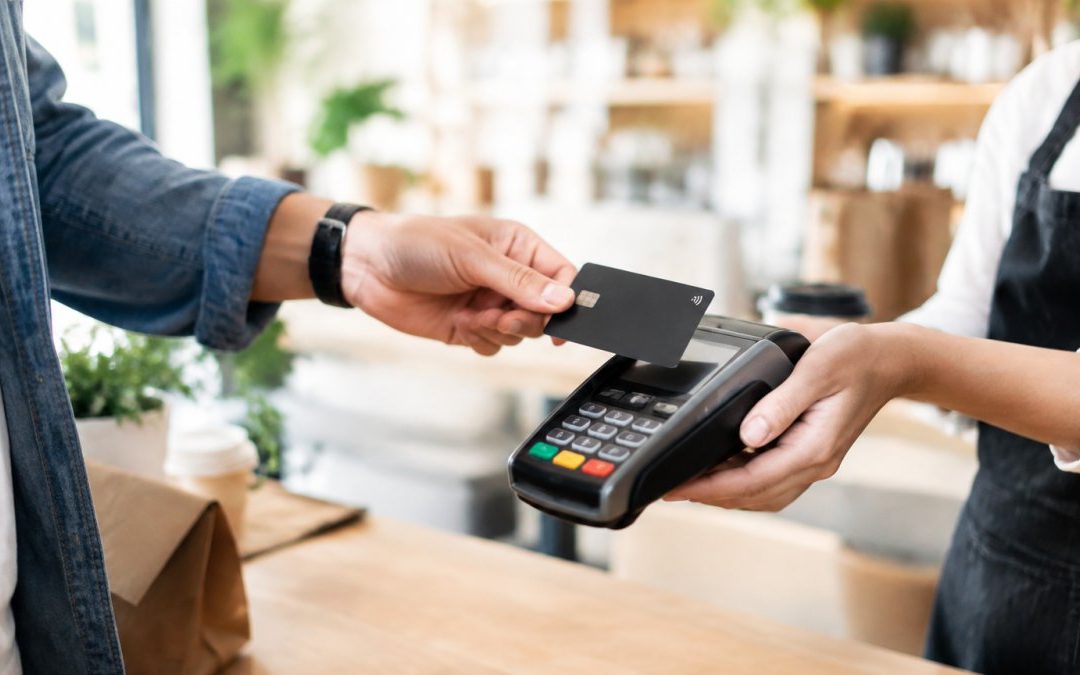
Contactless payment is a way to pay by holding a card, phone or wearable within a few centimeters of a payment terminal, with no insertion or swipe needed. Accepting contactless payments at shops lets you serve those customers faster and reduces the time spent at the register. (Source: PCI Security Standards Council guidelines)
A customer taps a contactless credit card, debit card, or a digital wallet such as Apple Pay or Google Wallet. The terminal reads the payment token, authorizes the transaction, and prints or sends a receipt. For small transactions, many cards skip the PIN entirely, which is why checkout moves quickly.
Keep the mechanics simple for your staff. Customers hold the card or phone near the terminal’s reader, wait for the confirmation tone or screen message, and then remove it. If the terminal asks for a PIN or signature, follow the prompt.
Choosing a Contactless Payment Terminal for Small Business
For most small shops, the right terminal is one that supports tap, chip, and mobile wallets and integrates with your sales system. A contactless payment terminal for small business should also be easy to set up, with clear pricing and responsive support.
Start with three questions:
- Where will you take payments? A countertop terminal suits a fixed register. A portable unit suits market stalls, deliveries, or table service.
- What do you already use? If you run a point-of-sale (POS) system, confirm the terminal integrates with it so sales and inventory stay in sync.
- How much volume do you expect? Low-volume shops may not need extras, while busier shops benefit from faster batch settlement.
Local Credit Card Processing provides free equipment, seamless system integration, and dedicated local tech support for small and medium-sized businesses. You can compare your current setup against the options available on our payment terminal pricing page before you buy hardware.
Comparing Acceptance Methods and What Each Costs
Shops can accept card payments through a dedicated terminal, a smartphone app, or a combination of both. Hardware and processing costs differ between methods.
|
Method |
Hardware Cost |
Typical Use |
Notes |
|---|---|---|---|
|
Countertop terminal |
Often free or leased |
Fixed registers |
Works offline in some models |
|
Portable terminal |
Varies by model |
Mobile sales, tables |
Needs charging and connectivity |
|
Phone tap-to-pay |
No extra hardware |
Low-volume or mobile sales |
Uses the phone’s built-in NFC |
Processing fees are an ongoing cost. Fee structures vary by provider. Ask any provider for a full fee schedule, including monthly fees, equipment fees, and early-termination terms. Compare the total cost over a typical year of sales, not only the headline rate.
Consider running your recent sales through each provider’s pricing estimate to compare costs.
How to Accept NFC Payments on Phone and Take Card Payments on Phone
Phone-based acceptance can turn a compatible smartphone into a payment terminal, which may suit shops that sell occasionally or need a backup when a terminal fails. The phone’s built-in NFC chip reads the card or wallet, the processor’s app encrypts and transmits the payment token, and the authorization response comes back to the same app.
To get started:
- Download your processor’s acceptance app from the official app store.
- Create or verify your merchant account and complete identity checks.
- Enable NFC in your phone’s settings if the app requires it.
- Enter the amount, then ask the customer to tap their card or wallet on the back of your phone.
- Wait for the confirmation before handing over goods.
Watch out: Phone tap-to-pay works only on supported devices, and some phones restrict NFC payment functions for third-party apps. Test with your own cards before a busy shift.
What Actually Happens During a Phone Tap
When a customer taps, the phone’s NFC antenna powers the card’s chip or reads the wallet’s token, and the app sends an authorization request through the processor. The processor routes it to the card network and issuing bank, which approves or declines.
Phone-based acceptance depends on the phone’s battery, cellular or Wi-Fi signal, and the processor app staying in the foreground. If the phone locks or the app is backgrounded mid-sale, the transaction can fail. Keep the phone charged and the app open during selling hours.
Device and App Compatibility Checks
Before you rely on phone acceptance, confirm three things:
- Phone model and operating system: Processor apps generally list minimum OS versions and supported models. Older phones may lack the NFC payment functions the app needs.
- Processor support: Not every processor offers a phone-based acceptance app, and some limit it to certain account types or business categories.
- Wallet support: Confirm the app accepts the digital wallets your customers use, such as Apple Pay and Google Wallet, in addition to physical contactless cards.
Phone Acceptance vs. a Dedicated Terminal
Phone acceptance avoids hardware cost but shifts risk to the phone: battery life, connectivity, and app stability. A dedicated terminal is more durable for high-volume counters and usually integrates with a POS system for inventory and reporting. Many shops use a terminal as the primary method and keep phone acceptance as a backup for outages or overflow. If you process refunds, confirm the phone app supports them before you depend on it.
Testing Before You Go Live
Run a test sale with a staff card for each payment type you plan to accept: contactless credit, contactless debit, and at least one digital wallet. Confirm the amount, the confirmation screen, and the receipt all match. Then test a refund through the same app to see how it posts. Keep a written note of the steps your staff should follow if a tap fails, including asking for a chip or cash payment.
How to Enable Tap to Pay on iPhone, Step by Step
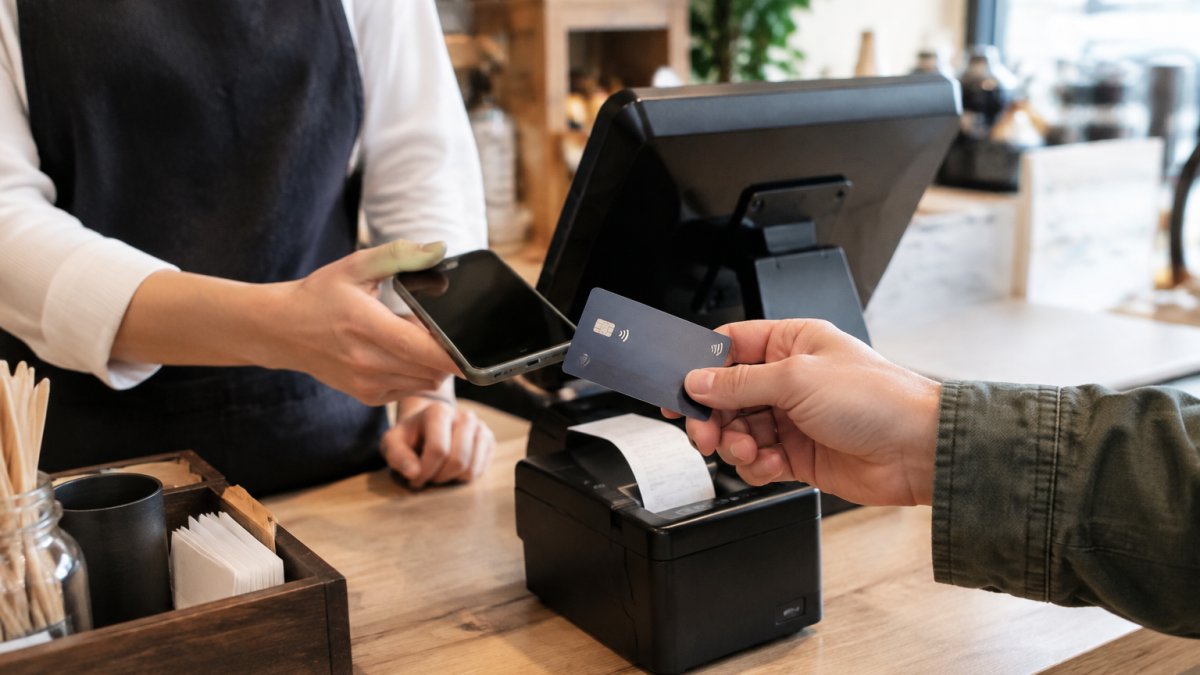
Tap to Pay on iPhone can let you accept contactless cards and digital wallets without a separate reader. The feature requires a supported iPhone, a current version of iOS, and a payment provider app that supports it.
- Confirm your iPhone model and iOS version support Tap to Pay on iPhone.
- Install your payment provider’s app and sign in to your merchant account.
- Complete the verification steps the provider requests.
- Turn on Tap to Pay in the app’s settings and accept the terms.
- Enter a sale amount and have the customer tap their card or wallet on the top of the iPhone.
- Confirm the transaction appears in your dashboard.
Availability and setup steps can change with iOS and provider updates, so check your provider’s current instructions before you rely on the feature.
Shop Setup Checklist, Refunds, Disputes and Fallback Payments
Before opening your register to contactless payments, work through this checklist:
- Choose a terminal or phone-based method that fits your sales volume
- Confirm your POS system integrates with the terminal
- Get a written fee schedule from each provider
- Test chip, tap, and mobile wallet payments with staff cards
- Train staff on the declined-card and PIN prompts
- Post a clear sign showing which payment types you accept
- Set a refund policy and confirm how refunds post to the terminal
- Keep a backup payment method for network or terminal outages
Refunds and Reversals
Process refunds through the same terminal or dashboard used for the original sale when possible. A refund sends a credit back through the card network to the customer’s issuing bank. Refund timing depends on the customer’s bank.
Keep the original receipt or transaction ID for every refund. If a customer disputes the refund later, that reference is the evidence your processor will ask for. Confirm whether your provider charges a refund fee and whether it returns the original processing fee.
Disputes and Chargebacks
A customer may question a charge with their bank, which starts a chargeback. The bank asks you, through your processor, for evidence that the charge was valid. Keep itemized receipts, timestamps, and signed proof of delivery where relevant. Your processor will explain its dispute timelines and the evidence it requires. Respond within the deadline; missing it usually means the chargeback stands.
Contactless transactions generally produce less paper evidence than signed sales, so keep the terminal record, the receipt, and any delivery or service documentation. Store these in one place staff can find quickly.
Fallback Payments and Service Interruptions
If the network goes down, a terminal may fail, or a card will not read, accept cash or another card type. Keep a written plan that staff can follow without calling a manager. The plan should cover:
- Terminal outage: Switch to a backup terminal or phone acceptance if available.
- Network outage: Use a terminal with offline mode if your provider supports it, and follow its limits on offline transaction amounts.
- Card will not read: Ask the customer to try a chip insert or another card, and never key in a card number unless your provider’s rules allow it.
- Customer cannot or will not tap: Offer chip, swipe where supported, or cash. Accessibility matters; some customers have cards without contactless or prefer not to use a phone.
Staff Procedures and Security
Train staff to check the confirmation screen before handing over goods, to keep terminals and phones in sight during a sale, and to report a missing device immediately so the processor can disable it. A short written procedure for suspicious transactions, such as a customer repeatedly tapping a card that declines, helps staff act consistently. Review the plan with staff monthly and after any outage.
Your Next Step: Book a Setup Review With Local Credit Card Processing
Choosing and configuring a payment setup is easier with a second set of eyes. A setup review can check your sales volume, current fees, and equipment needs against what your shop actually requires. Local Credit Card Processing offers local support, so you can talk through your options before you commit.
To get started, contact Local Credit Card Processing to request a setup review, or find a local credit card agent who can recommend a solution for your business.
Frequently Asked Questions
Can I accept NFC payments on my phone?
Yes, if your phone and payment app support it. Some payment providers allow phone-based acceptance on compatible devices, and many merchant apps use the phone’s NFC chip to accept contactless cards. Check that your device is on the provider’s supported list, that you have a current operating system, and that your merchant account is approved before you rely on it for sales. Fees and availability vary by provider, so confirm both before you switch.
Do shops need a payment app to accept contactless payments?
Most shops need one. A payment app or point-of-sale system handles the transaction, sends it to the processor, and records the sale. Standalone NFC terminals often include their own software, while phone-based acceptance requires the provider’s app. Either way, you need a merchant account, a payment processor and a way to see receipts and daily totals. Ask any provider whether the app is included, what it costs monthly, and how refunds are handled.
What are the disadvantages of accepting contactless payments?
The main drawbacks are per-transaction fees, which can add up on small tickets, and dependence on connectivity and power, since a dead terminal or dropped signal can stop sales. Some customers also have cards or phones that decline taps, so you still need a fallback such as chip or swipe. Tap limits set by card issuers can require a PIN on larger purchases. Plan for these before you commit to a hardware setup.
What happens if a contactless payment fails?
A failed tap usually means the card or phone was held too far away, moved too early, or the issuer declined the charge. Ask the customer to try again, try a different card or use the chip or swipe method if the terminal supports it. If the terminal shows an error repeatedly, check the connection and restart the device. Keep records of declined transactions so you can match them against your statement and reconcile at day’s end.
Follow Us On Facebook – https://www.facebook.com/localcreditcardprocessing

Recent Comments